Showing posts with label Quilt Pattern Design. Show all posts

August 26, 2022

Strolling Patchways in Charmed by Moda Bake Shop


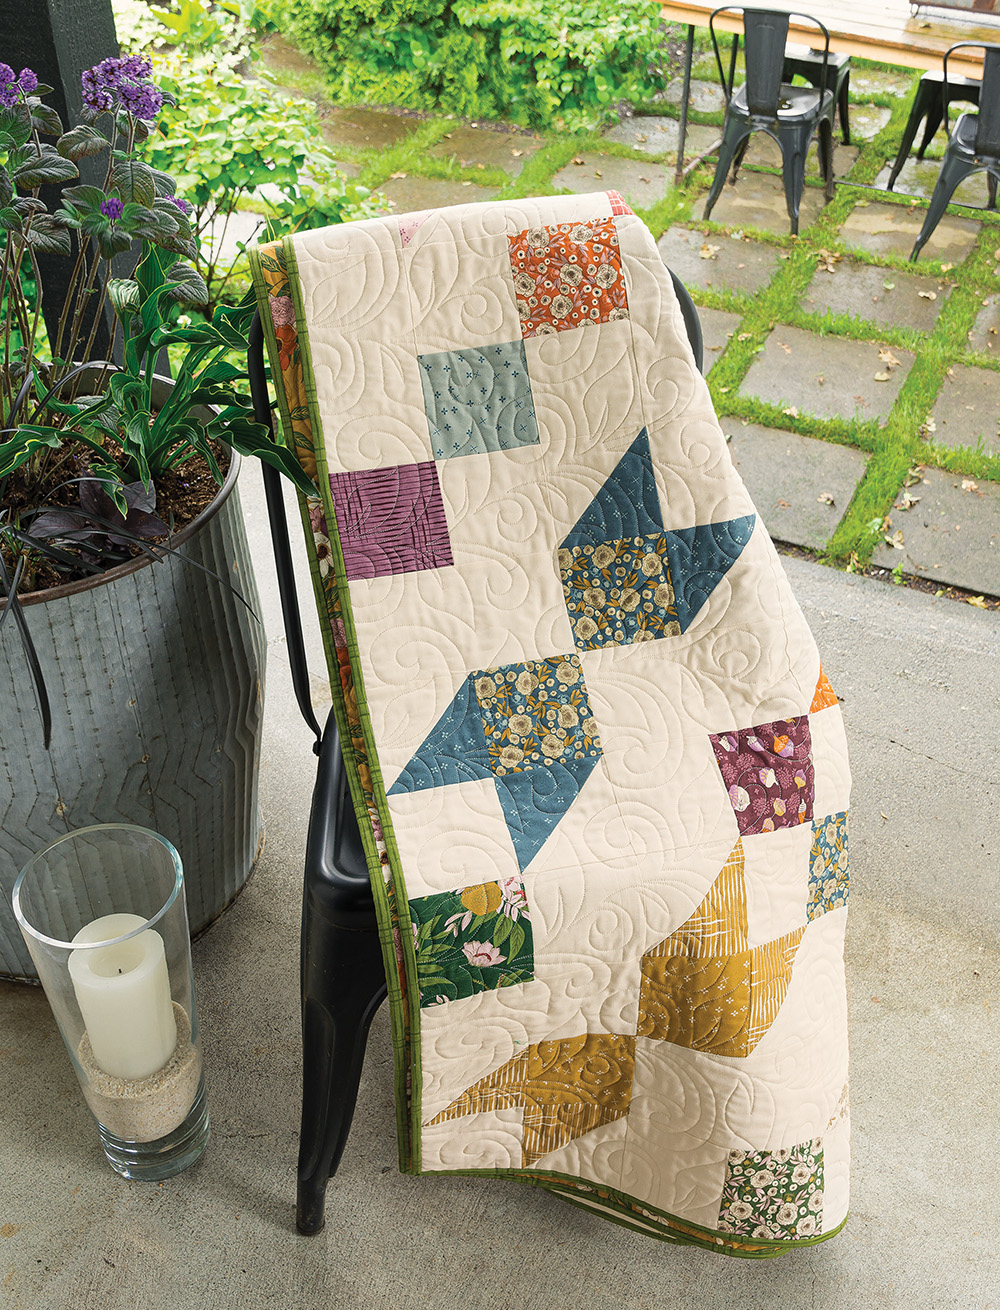
I'm thrilled to announce that my most recent design, Strolling Pathways, is included in newest book from Martingale Publishing and Moda Bake Shop titled Charmed-A Dozen Delightful Charm Pack Quilts. The book release date is October 3rd but can be preordered now from @martingaletpp or from Amazon. You can also check to see if your local independent quilt shop will order it for you. My quilt features the gorgeous Slow Stroll fabric line by Fancy That Design House.


The pattern uses 3 charm packs (you can also use scrappy charms) and 4 yards of a background fabric. I loved creating this new design and can't wait to see your version. It's simple and comes together quickly so pull out a stack of your favorite charm packs and preorder your copy of the book so that you can get started as soon as it arrives.

June 9, 2022

Riding the Rails - a new published pattern

I'm way behind on posting including another big announcement.
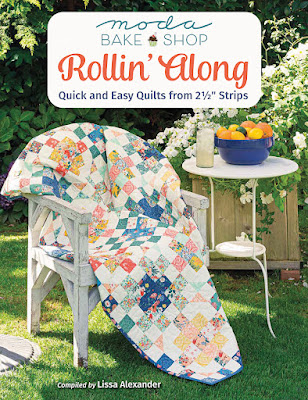
I've got another new pattern published. It's in the newly released Rolling Along from Moda Bake Shop and Martingale Publishing.
The designers have been/are hosting giveaways to share the news of this great new book. Due to my hectic schedule during Girl Scout cookie season (which is now, thankfully, done for this year), I've missed sharing the news (so sorry), but you can still enter Jen Daly's giveaway on Instagram at @jendalyquilts which ends tomorrow, June 10th.

I'll be posting my giveaway on IG on Saturday, June 11th, and the entries will close on Tuesday the 14th.  You won't want to miss entering for a chance to win not only the book but a kit to make my quilt.  There will also be a 2nd prize of both this book and the earlier released book.

Stay tuned!

January 5, 2022

Sneak Peak!

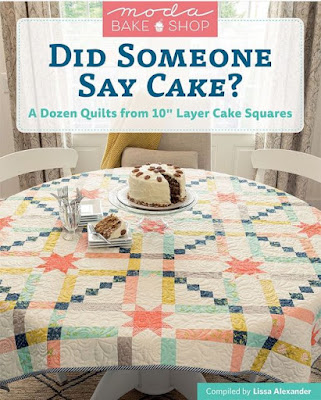
Today I'm sharing a little sneak peak of the quilt I made for the upcoming book "Did Someone Say Cake?" being released next month and available at Shop Martingale.

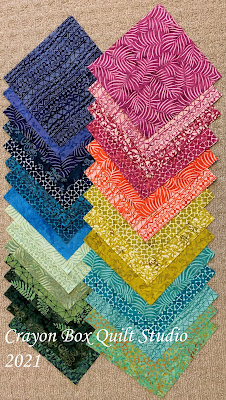
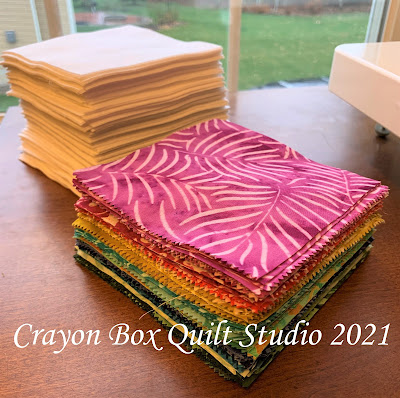
These are the gorgeous fabrics I used. The batik colors are so rich and vibrant and the prints are the perfect scale, in my opinion.

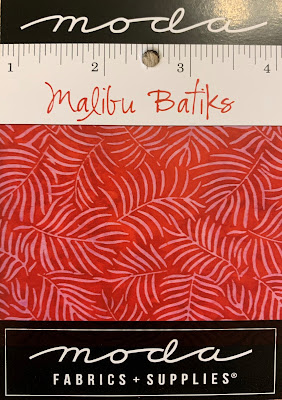
The fabric line is Malibu Batiks and it's currently available from a huge number of quilt shops, but don't wait to get your stash. I expect it will sell out quickly.
Here's the last sneak peak I can share until the book is released.  I know, it's a little bit of torture to not show you more, but this will have to suffice until next month when I can share more.
As you can guess, I can't wait to get this book in my hands.  I would guess that there will be a few or more projects created by the other designers that I will want to make too.

January 3, 2022

Big News! My 1st Published pattern!

How would you react if you received an email from the Content Director at Martingale Publishing asking if you'd like to contribute a new quilt pattern for an upcoming book? 
 
Surprised? Shocked? Excited? Jaw dropped to the floor? All of these and more?
 
That was me in October 2020 when that email arrived in my inbox.  

I'm excited and humbled to announce that my first in print published pattern appears in Moda Bake Shop's Did Someone Say Cake? which arrives on book stands in February.
In the coming weeks, I'll be sharing a few sneak peaks of the fabric line I used and the quilt I designed for this book. I'll also share a little of the "behind the scenes" so you get an idea of what this process was like.
 
As you can imagine, I can't wait to get my hands on the book and see my quilt in print for real.  
 

May 29, 2020

Castles on the Horizon - a quilt pattern tutorial

This my Castles on the Horizon quilt that I designed and was featured on the Moda Bakeshop in November 2014.  I've had a few requests for the pattern recently because it's no longer available on the Moda site so I'm posting it here for you.
This was my first project for the Bakeshop and I was so excited that this design turned out exactly as I imagined it would.
This quilt came about after I had one of those "light bulb moments".  I was flipping through a quilt block book, came upon a Castles in Spain block and thought it would be the perfect block to use with Kate Spain's Horizon line.  I named it Castles on the Horizon as a play on words.
This quilt was a challenge to see if I could make the blocks only using Half Square Triangles instead of the typical Flying Geese and although it does take a bit of effort, the results were definitely worth it.

To make your own version of Castles on the Horizon you'll need:

- 4 charm packs or 164 charms in your chosen color palette.  Each block uses 8 charms and the rest are used for the outside border. (Note: you might want to have a few additional charms available for the outside border if you want to have a planned color layout as I have done).

- 3 solid charm packs or 2 yards of a solid fabric cut into (96) 5" x 5" squares

- 1 yard of a solid color for the inner border

- 5 1/2 yards for the backing

- 3/4 yard for the binding
* An important note before you begin: I recommend that you press all seams open for this project.  There is quite a bit of bulk in some of the seams when sewing parts of the block together and pressing all of your seams open will help minimize that as much as possible.  Back tacking at the start and end of each seam when assembling the block is also recommended.

Each Castles in Spain block requires:

- 6 print charms in the same color way
- 2 charms in a contrasting color way for the corners
- 8 white charms

Begin by sorting your charms in the groupings you wish, making sure that the 2 charms for the corners strongly contrast with the charms for the rest of the block.  Here are my groupings.  I used 6 charms in the same color way for each block plus the 2 charms of the same print in a different color way which will be the corners.  You'll need groupings for 12 blocks and the remaining 72 print charms (68 if you aren't using charm packs) should be set aside for the outer border.  For the blocks you'll need a total of 96 print charms and 96 white charms.
The first step is to make 96 Half Square Triangle (HST) blocks.  On each of the White charms, draw a line from corner to corner with your preferred making tool.  I always use a purple disappearing marker or you could use the new 1/4" Diagonal Seam Tape created by Cluck Cluck Sew.  That would have been really helpful if it existed when I made this quilt.
Pair up each of the White charms with a print charm and using the drawn line as your guide, sew a seam 1/4" to the left of the line.  Chain piecing is a fast way to complete this step for all 96 pairs.
Turn the charms around so that the stitch line you just complete is on your right and again, using the drawn line as a guide, sew another seam 1/4" to the left of the line.  Again with more chain piecing, you will have this done in no time.
Using a ruler and a rotary cutter, cut each HST apart on the drawn line, down the center of your two lines of stitching.
Press the seam open on both the back and then on the front, taking care not to distort the bias edges. (Wow, my ironing board cover back then was a wild print).
 Trim and square up your blocks to measure 4 1/2" x 4 1/2".
Before sewing the HST blocks together, lay out your pieces to check for correct orientation and color placement.  Using your preferred method, pair up/mark/stack each pair of blocks for sewing.
Nest the two centers of the ends of the HST and pin in place.
Sew each pair together using a 1/4" seam, taking care to not let the back seams fold over.
Again, press all of the seams open.
Careful pressing of the blocks will ensure they fit together better in the future steps.
To make sure you haven't accidentally turned a block in the wrong direction while sewing it to it's mate, again lay out your pieces to check for correct orientation and color placement.
Don't ask me why I recommend this.
Match up the center corners of the HST to match up the seam lines and then sew together the two double HST pairs to complete each row.
Once more, double check the placement before sewing the rows together.
Then sew row 1 to row 2 and row 3 to row 4.
Go slow when sewing through the intersecting seam of the 4 HSTs unit since this area will have quite a bit of bulk. Slower sewing will also help ensure perfect points.
This is a completed block.  It should measure 16 1/2" square.
Make 12 blocks.  Lay out your blocks in a pleasing design and sew the blocks into 4 rows of 3 blocks each, matching up your seams as you did before.
Sew the rows together, row 1 to row 2 and row 3 to row 4 and finally sewing the 2 halves of the quilt top together to form the quilt center.  It should now measure 48" x 64"
Unfortunately I don't have a picture of the next step of adding the inner border, but it's pretty straight forward. 

From the solid yardage cut 8 strips 4 1/2" by the WOF for the inner border.  Piece together 2 strips, trim to 64" long and sew to one side of the quilt.  Repeat on the other side.

Then piece together 2 more strips, trim to 56" and sew to the top of the quilt.  Repeat on the bottom.  Your quilt now should measure 56" x 72".

To make your final border, you will make 68 HST from your remaining charms.  I wanted to do a specific color planned border for my quilt and you can choose to do the same if you like.

To plan out my borders I actually found it easier to cut my charms in half on the diagonal to create triangles and then I was able to move the pieces around as I wanted in order to create the color plan I was going for.

You could also create your borders in either 1) a scrappy HST layout, not worrying about the color placement or 2) a planned color layout, placing the same colors next to each other to create the larger triangles. It's totally up to you.
Each side border will require 18 HSTs and the top and bottom borders will require 16 HSTs each for a total of 68 HSTs.  You should have 4 charms leftover if you are using charm packs.  

If you used triangles like I did to plan your borders, sew each of the 2 pieces into HST blocks and then double check your placement and orientation by laying them out before sewing the blocks into rows.  Attach the 2 side borders first and then attach your top and bottom borders.

Ta Da!  You now have a completed quilt top that measures 64" x 80".
Layer your quilt top with batting and backing and quilt as desired. At the time, I had another quilt on my frame so I couldn't quilt this with my longarm.  I also wanted to keep the quilting really simple so I quilted it on my domestic machine Lucy with easy straight lines.  The overall effect when it was done was perfect.
The backing was a Moda Marbles print and I loved the way the sun that day shone through from the front giving it this stained glass appearance.
I hope you enjoy making your own version of my Castles on the Horizon quilt and I look forward to seeing how it turns out.  This quilt lives on the back of one of the couches all year round so it gets a ton of use by my kids.  It has become ultra sofa and snugly and it's definitely been loved a lot over the years.
If you want some additional inspiration, stay tuned for my next post where I'll share some pictures of this quilt pattern made by others. There are many beautiful versions that have been completed so far and there was even a group of friends that made it as a quilt along. 

July 17, 2017

Jingle Wishes - my 12 Days of Christmas in July Blog Hop quilt


Welcome to my stop on the 12 Days of Christmas in July Blog Hop hosted by Sarah of Confessions of a Fabric Addict.
Confessions Of A Fabric Addict
This is the 2nd year for this holiday themed blog hop and it just might become an annual event if the enthusiastic response is any indication.  :) 

Last summer for this blog hop I designed and created my Merry Jingle quilt (which happens to be in the process of being remade with non-holiday fabrics for my first pattern release for retail sale.)
 It was made using the charms I collected after hosting a Kate Spain Christmas Charm Swap in the fall of 2015.
That swap consisted of her lines Joy, Solstice, 12 Days of Christmas, Flurry, In From the Cold and Jingle.  For this year's hop I wanted to use the same fabrics since I still had so many charms leftover and I also wanted to make a second Christmas themed quilt for my home.  This design is my newest result.  May I present:
Jingle Wishes
 This is a simple charm and half charm quilt with skinny sashing strips between the blocks.
I admit that my main motivation for this design was to use up as many of the Christmas charms as I possibly could.  My only constraint was the amount of fabric that I had for the skinny sashing pieces. This quilt finished at 57" x 55" and used a total of 120 charms for the top.
The panto I chose was Christmas Doodle and the lighthearted motifs suited this cuddle quilt perfectly.  For the top I used Glide thread in Chartreuse which stood out a little while still being very subtle over all the various fabrics. The designs included ornaments.
Sweet candy canes.
And whimsical Christmas trees.
This picture taken in the morning light shows the lovely texture that the panto gave to this quilt without overpowering the fabrics.  I love it!
For the binding, since I had just enough of the same yardage left from the Merry Jingle quilt binding, I used it for this quilt too. It works for me as it includes all three of the main holiday colors of Red, White and Green and ties everything together well.
In keeping with the "use up what I already have" mentality I used a yard of one more Kate Spain Christmas print I had in my stash with even more charms from the charm swap, 64 to be exact.
I'm a big fan of pieced backs because they add so much more interest plus using up bit of this and that is always a good thing so that there's room to buy new fabrics.

The panto design again just shows as great texture across the back. Signature thread in Lime was used on the back.
I'm thrilled with how this design experiment turned out and if you might want to create your own version check back in a few days for the free tutorial.
 I can't thank Sarah enough for hosting this blog hop again.  It gave me the excuse chance to make another beautiful Christmas quilt to adorn my home this coming holiday season.
 Please visit the other ladies who are sharing their projects today.


The entire blog hop schedule is:

Friday, July 14th

Saturday, July 15th
Sunday, July 16th
Cheryl's Teapots2Quilting

Monday, July 17th
Crayon Box Quilt Studio

Tuesday, July 18th
Wednesday, July 19th
Thursday, July 20th
Friday, July 21st
Saturday, July 22nd

 And to just add to the excitement and fun here is more great news from Sarah!

And as if great holiday ideas and a tutorial weren't enough, this year we've got something extra special!  The lovely folks over at Free Spirit Fabrics have donated not just one item for a giveaway, but THIRTEEN!  And it's pretty drool-worthy stuff, too - it's Tula Pink's new holiday line, Holiday Homies!!!
I have six design rolls, six layer cakes, and one fat quarter bundle to give away - and here's how we're going to do it!  Visit each stop on the hop, including this blog, and leave a comment on each post for the day.  At the end of the hop, I'll do a giveaway for each day by putting everyone's name in the hat who commented that day (from all that day's hop-blogs), and drawing a winner for that day.  That will be twelve winners - the design rolls and layer cakes.  Then I'll put all the names from all the days in a hat and draw out a grand prize winner for the fat quarter bundle!  Only one prize per person, though - let's spread it around a bit!  So carve out a bit of time to visit all the blogs and comment - it makes the time spent on each post worth it when you see what people think about your work!

So it's worth your while to visit each blog hop participant and leave her a comment.  Not only will it make her day but it will give you another chance to win some of this yummy fabric.

Thank you for visiting today.  I hope you enjoy my quilt and will come back to see what else is going on in my studio.  Lots of fun projects are in the works and I can't wait to share them.