Showing posts with label Finish It Up Friday. Show all posts

April 7, 2022

Sailing on the Wind

 Sometimes you make a quilt for someone because you come across a new pattern and/or fabric line that you know instantly is perfect for someone in your life.  That's exactly what happened when I first saw The Regetta by Patchwork Studios.  

You see, my son's best friend Jon's parents, Linda and Tom, have a sailboat on a local lake where they spend practically the entire summer and they graciously invite my son to join them for multiple days at a time over many weekends each year.  They are even teaching him how to sail.  It goes without saying, that when I saw the pattern, I had to make it for them as a small thank you for their continuing generosity year after year.

 It started with these pretty fabrics, Sail Away by Northcott, and the sailboat panel. 

This was another project that was quick and easy to piece together and within a very short time it was done and loaded on the frame.

In process...the quilting really brings so much movement and life to the quilt.
Quilting was done in no time flat and now it just needed the binding.
This is the finished quilt, ready to be gifted.
 I really love the way it turned out.  I expect that during the long northeastern winters this quilt would remind them of their summers on the lake and all the memories made there. 
 I chose the Seaside panto for this quilt.  Not only was the panto name perfect but the curve reminds me of the ribbons of the wind.
On the water areas, the stitching design looks like the back and forth of the waves.
You can almost feel the breezes in your hair.   
I know I say it all the time, but the stitching just adds such pretty texture. The thread used is Glide Tar Heel on the top and Glide Light Tan on the back.
I used this great anchor print from the same fabric line for the backing.
There was a big piece of the panel left over that I didn't want to waste.  I decided to turn it into a wall hanging that actually fits perfectly on a narrow wall in Linda and Tom's house.
For the quilting, I did organic wavy lines with random spacing. 
The back was also a leftover piece from the quilt so even less bits were added to my scrap bins.
Linda and Tom were completely surprised by the quilt and so thrilled.
It felt great to be able give these quilts to our good friends and I know that during the winter, they dreamed of the day when they get to return to their boat, Without Wind. 


April 1, 2022

Always and Forever Table Runners

One of the things that has been very satisfying over the last year and a half has been the fact that I've been able to get a bunch of UFOs finished or previously un-started projects actually made and off my To Make list.  One of the items crossed off the UFO list was the pair table runners I pieced using a charm pack of Always and Forever by Deb Strain for Moda.

The last time I showed these here on the blog was February 2014, so a whopping 8 years ago.

They were both simple piecing but I still like the way they turned out. First up s the runner for our larger table which is in the dining room. It's 14" x 56".

The Love Dance panto is what I stitched on this using Glide White thread.
The detail shows nicely on the back which is a Red tone on tone print I found at a LQS.
This is the smaller runner that is on our kitchen table.  It is 14" x 48".  I created it literally from the scraps leftover from the longer runner and winged the design.
The blocks were pieced randomly and I think I used up almost all the bits so it was a Win, Win.
The one got the Heart Fancy panto stitched onto it using the same Glide White on the front and Glide Cardinal on the back.
I finished these last year, used them this year for a few weeks around Valentine's Day and now they are packed away until next year. 
I hope to delve into the UFO pile again soon to see what else I can get finished and crossed off the list. 


July 10, 2020

Teller's Firetrucks Quilt

Sometimes making a quilt just to use up leftovers turns out to be a good thing.
Last year, after I made the Courage Under Fire quilt for our friend Pete, I didn't want to put the scraps back in my stash or scrap bins yet again so I hunted down an idea to use them up.  I came across The Long and Short of It by Barbara Esposito on the Moda Bake Shop and decided to use that pattern, though I opted for the optional layout.  FYI...Moda recently moved the Bake Shop off that platform so the instructions for the pattern are still available via the link but the pictures are gone.  You can  find pictures of both the original and the optional layouts on Pinterest.

After I got the pieces laid out, I knew that it was a jumble visually and needed help.
I wanted to use only what I had available so I added Yellow sashing between the blocks.
This is the "before" quilting picture. You can just make out that I also pieced the backing.  I truly kept this to a Zero cost project and was happy to have the fabric put to good use.  I still have a small amount of the fabrics left but they've been cut up into charms and smaller pieced and will get used in future scrap quilts.
Here it is after it was quilted. While I was finishing up the 100 Good Wishes Quilt for Ellis, I got to feeling sad that her younger brother Teller wouldn't have a quilt of his own.  When he was adopted, collecting fabrics for 100 Good Wishes Quilts weren't all the rage anymore.  Then the idea hatched in my brain to send this one to him. 
I picked the Steam design for the quilting.  The thread on the front was Glide Cardinal and So Fine Hot Chilis was used in the bobbin.
I totally forgot to take the glamor shots before I shipped it off to Kris (oh well), so this draped over the frame shot will have to do.
I know from Kris that Teller was thrilled to receive his own quilt and based on her description of him, I'm sure that it is getting plenty of quality of snuggle time.  I'm happy that this "use it up" quilt now has a home and is bringing a little boy so much joy.

July 3, 2020

A 100 Good Wishes Quilt for Ellis

My longtime blog readers know that I started quilting because of the ancient Chinese 100 Good Wishes Quilt tradition and because of that, I've been able to make a number of 100 Good Wishes Quilts for the daughters of friends.

This one was for Kris' daughter Ellis and it was a birthday gift this year.
It's always the layout for these quilts that takes me the longest to do in order to have the colors spread nicely across the entire top.
Once the sashing was sewn between the blocks, the blocks sewn together and the outer border added, it was ready to go on the frame.  This is the "Before" photo.
The "After" photo.  To this day I'm still in awe of the difference the quilting makes.
Kris found onlinethis absolutely gorgeous Plum Blossom fabric for the backing that she purchased and had shipped to me.
I love this backing fabric so much that I'm strongly considering buying some of it for myself.  For this quilt it truly was the perfect choice. Her Chinese name means Plum Blossom. 
Kris left the binding fabric choice up to me and once I had the backing in hand I was able to take it to one of my local quilt stores to find something that worked.  I fell in love with the Green print which matched so well with the Green Plum blossom branches.
This is Ellis when she received the quilt.  I think she's happy.
These 100 Good Wishes Quilts are truly an honor for me to make.  I so understand all the pent up hopes and dreams that they meant as we all waited to bring our children home. 
I'm thrilled that Kris finally sent me her squares so this quilt could be created.  None of the squares we all collected during that time should sit in a box waiting.  At least these squares aren't waiting any longer.

June 27, 2014

Teacher gifts 2014

Although I would have liked to again make full size quilts for the kidlets teachers this year, I knew that there was no way that I could ever get them done in time plus since both kids moved to different schools this year it was a good time to not do that so there wasn't any expectation from future teachers for quilts too.

But I do like to still give the teachers a handmade gift, something useful and pretty. For this year I chose to make tote bags and I used my Boho charms. I modeled my versions after the one made by 
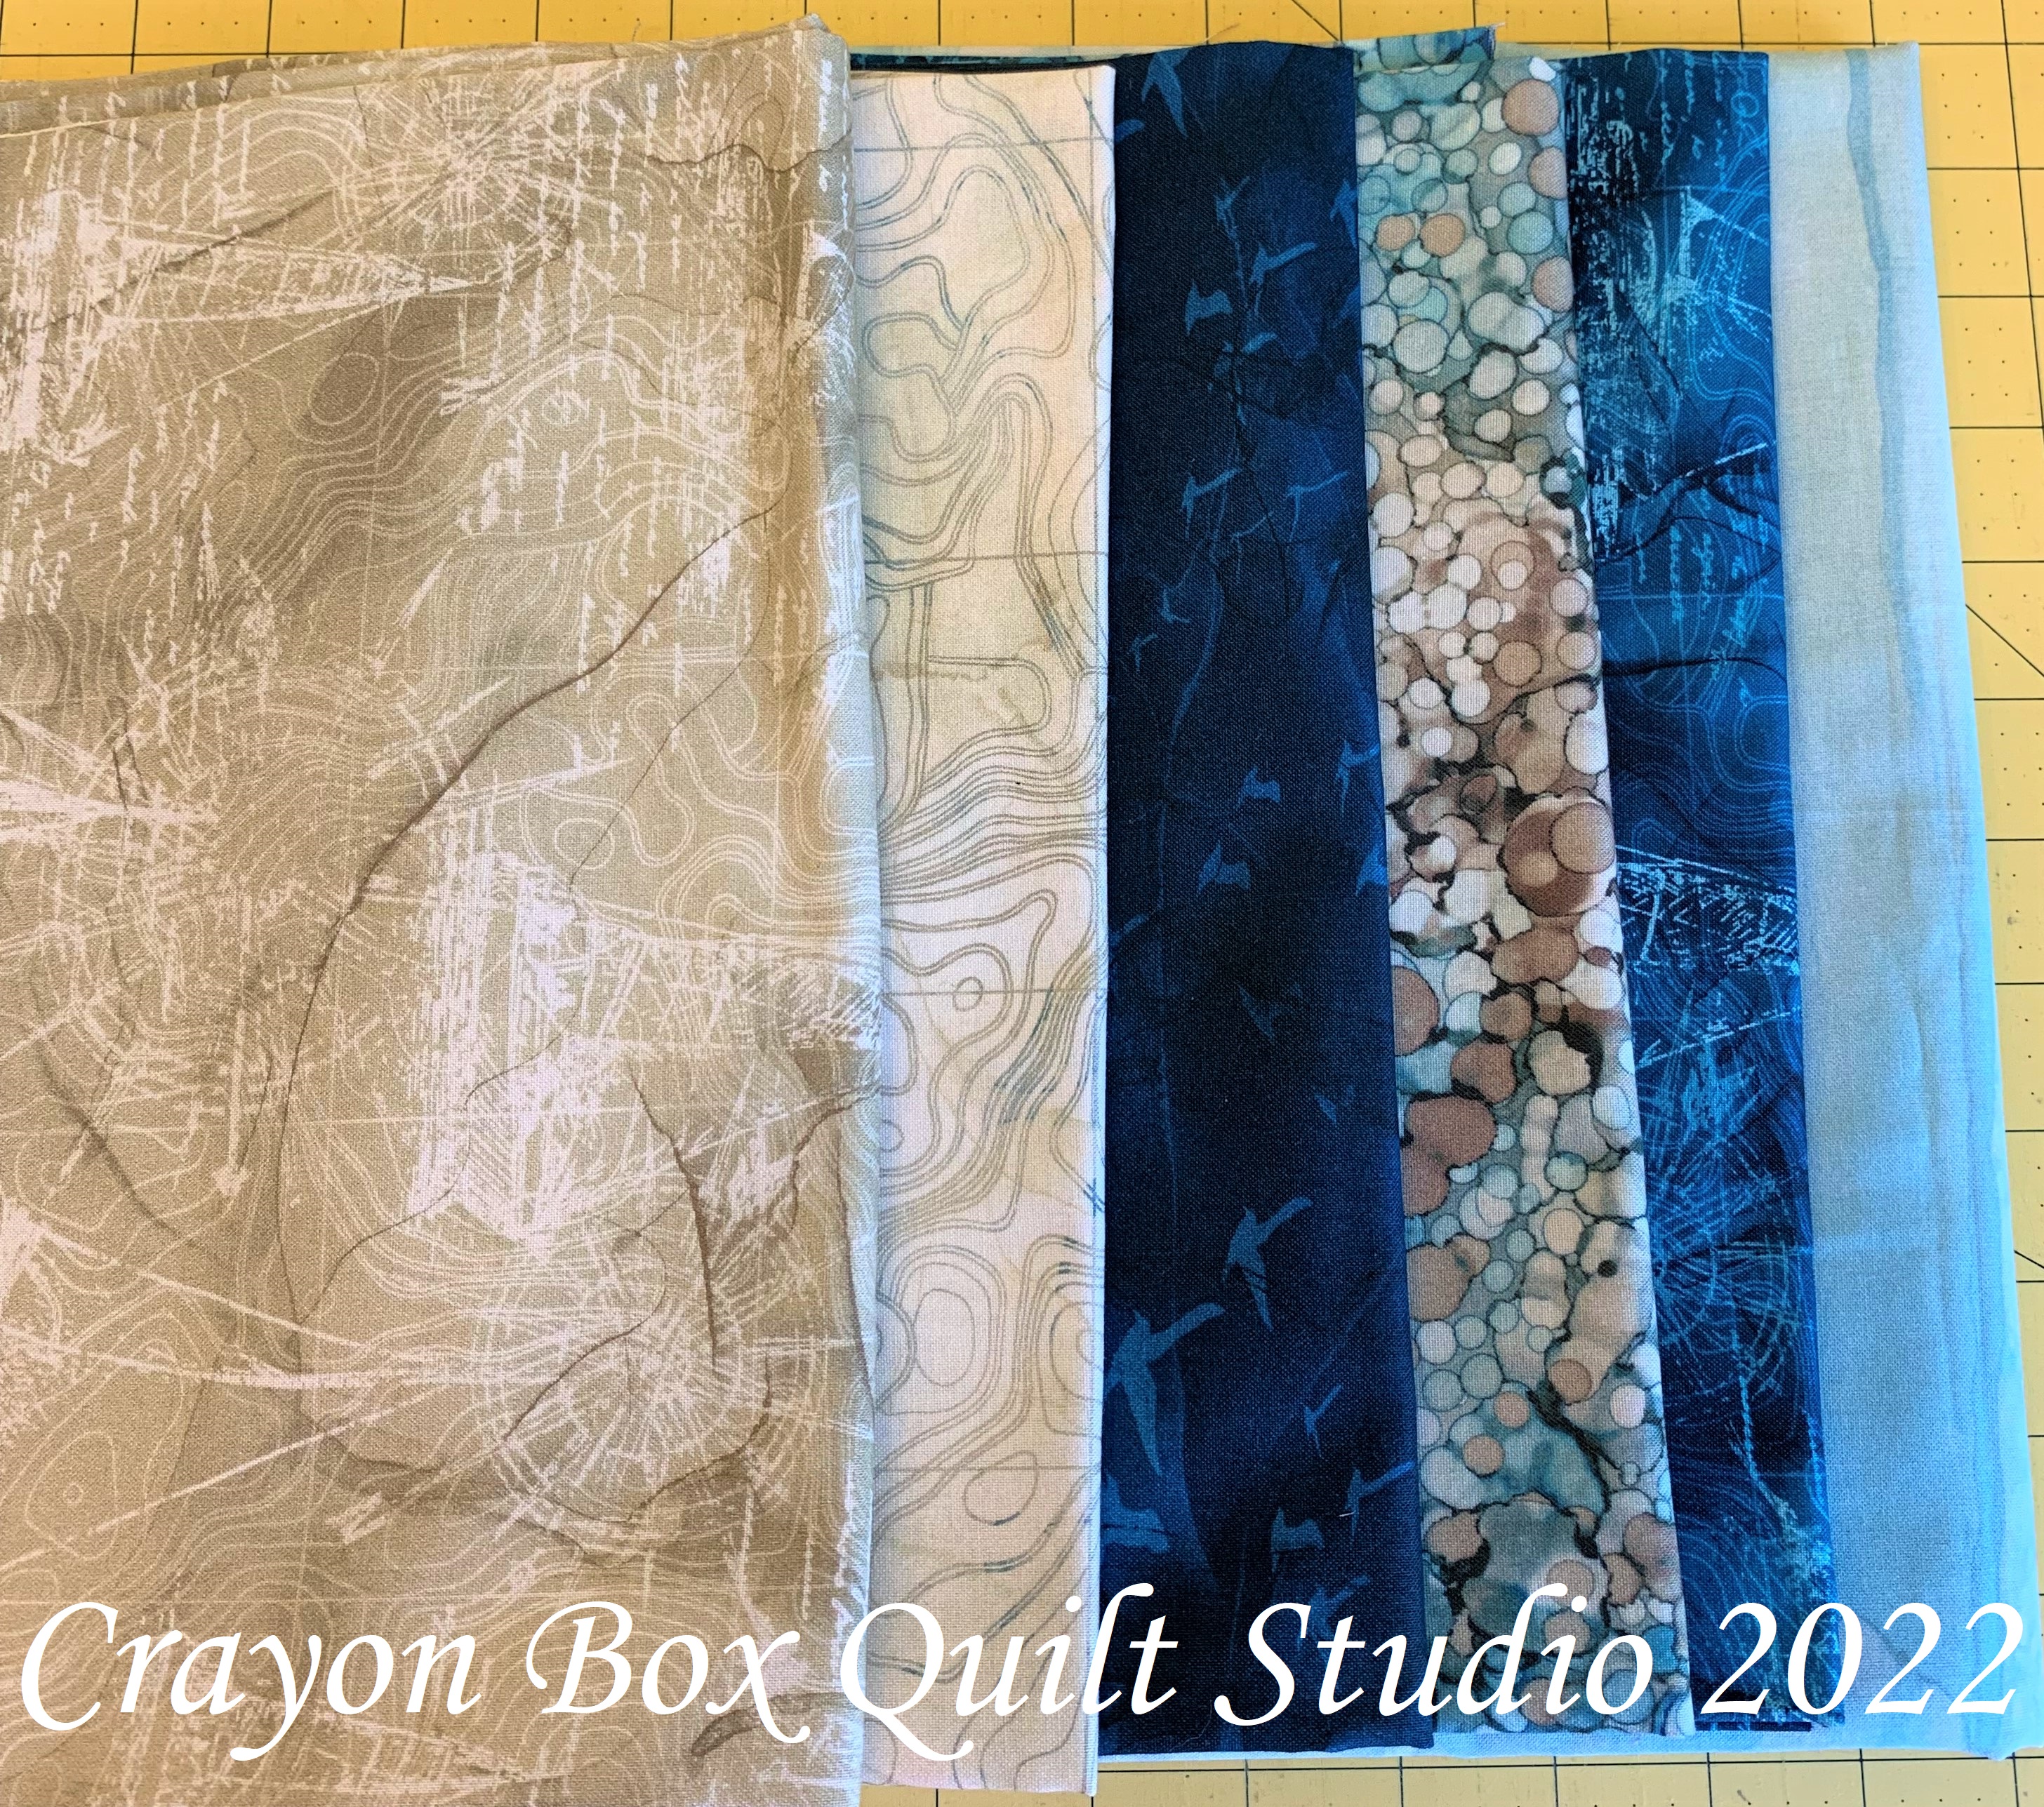
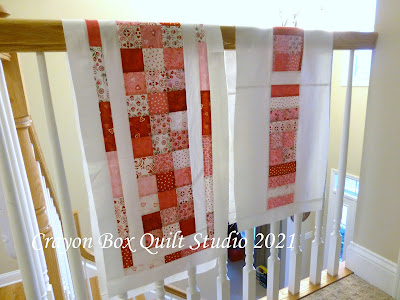
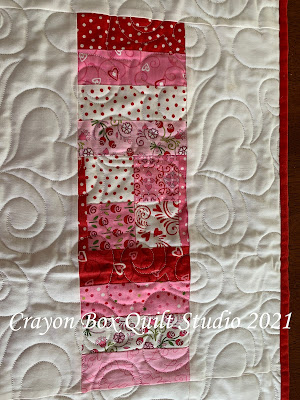
TeresaDownUnder. First I laid out the charms how I wanted them and sewed them together (the 2 rows in the very middle are actually the bottom of the bag and the row at the bottom of the picture is the top of the opposite side.)
 Then I added the Bella Sienna strip.
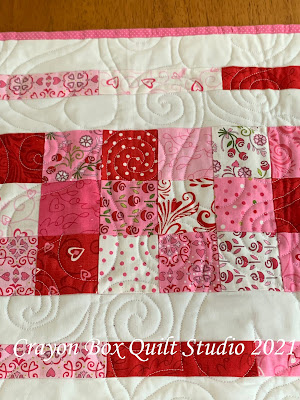
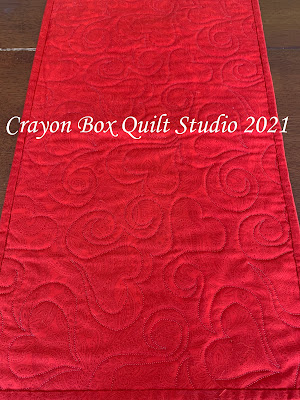
 I quilted it with the Honeycomb design with my domestic machine Lucy. I love that this is so fast and easy, 45 minutes from start to finish for both panels.
 I added handles in the same solid fabric.
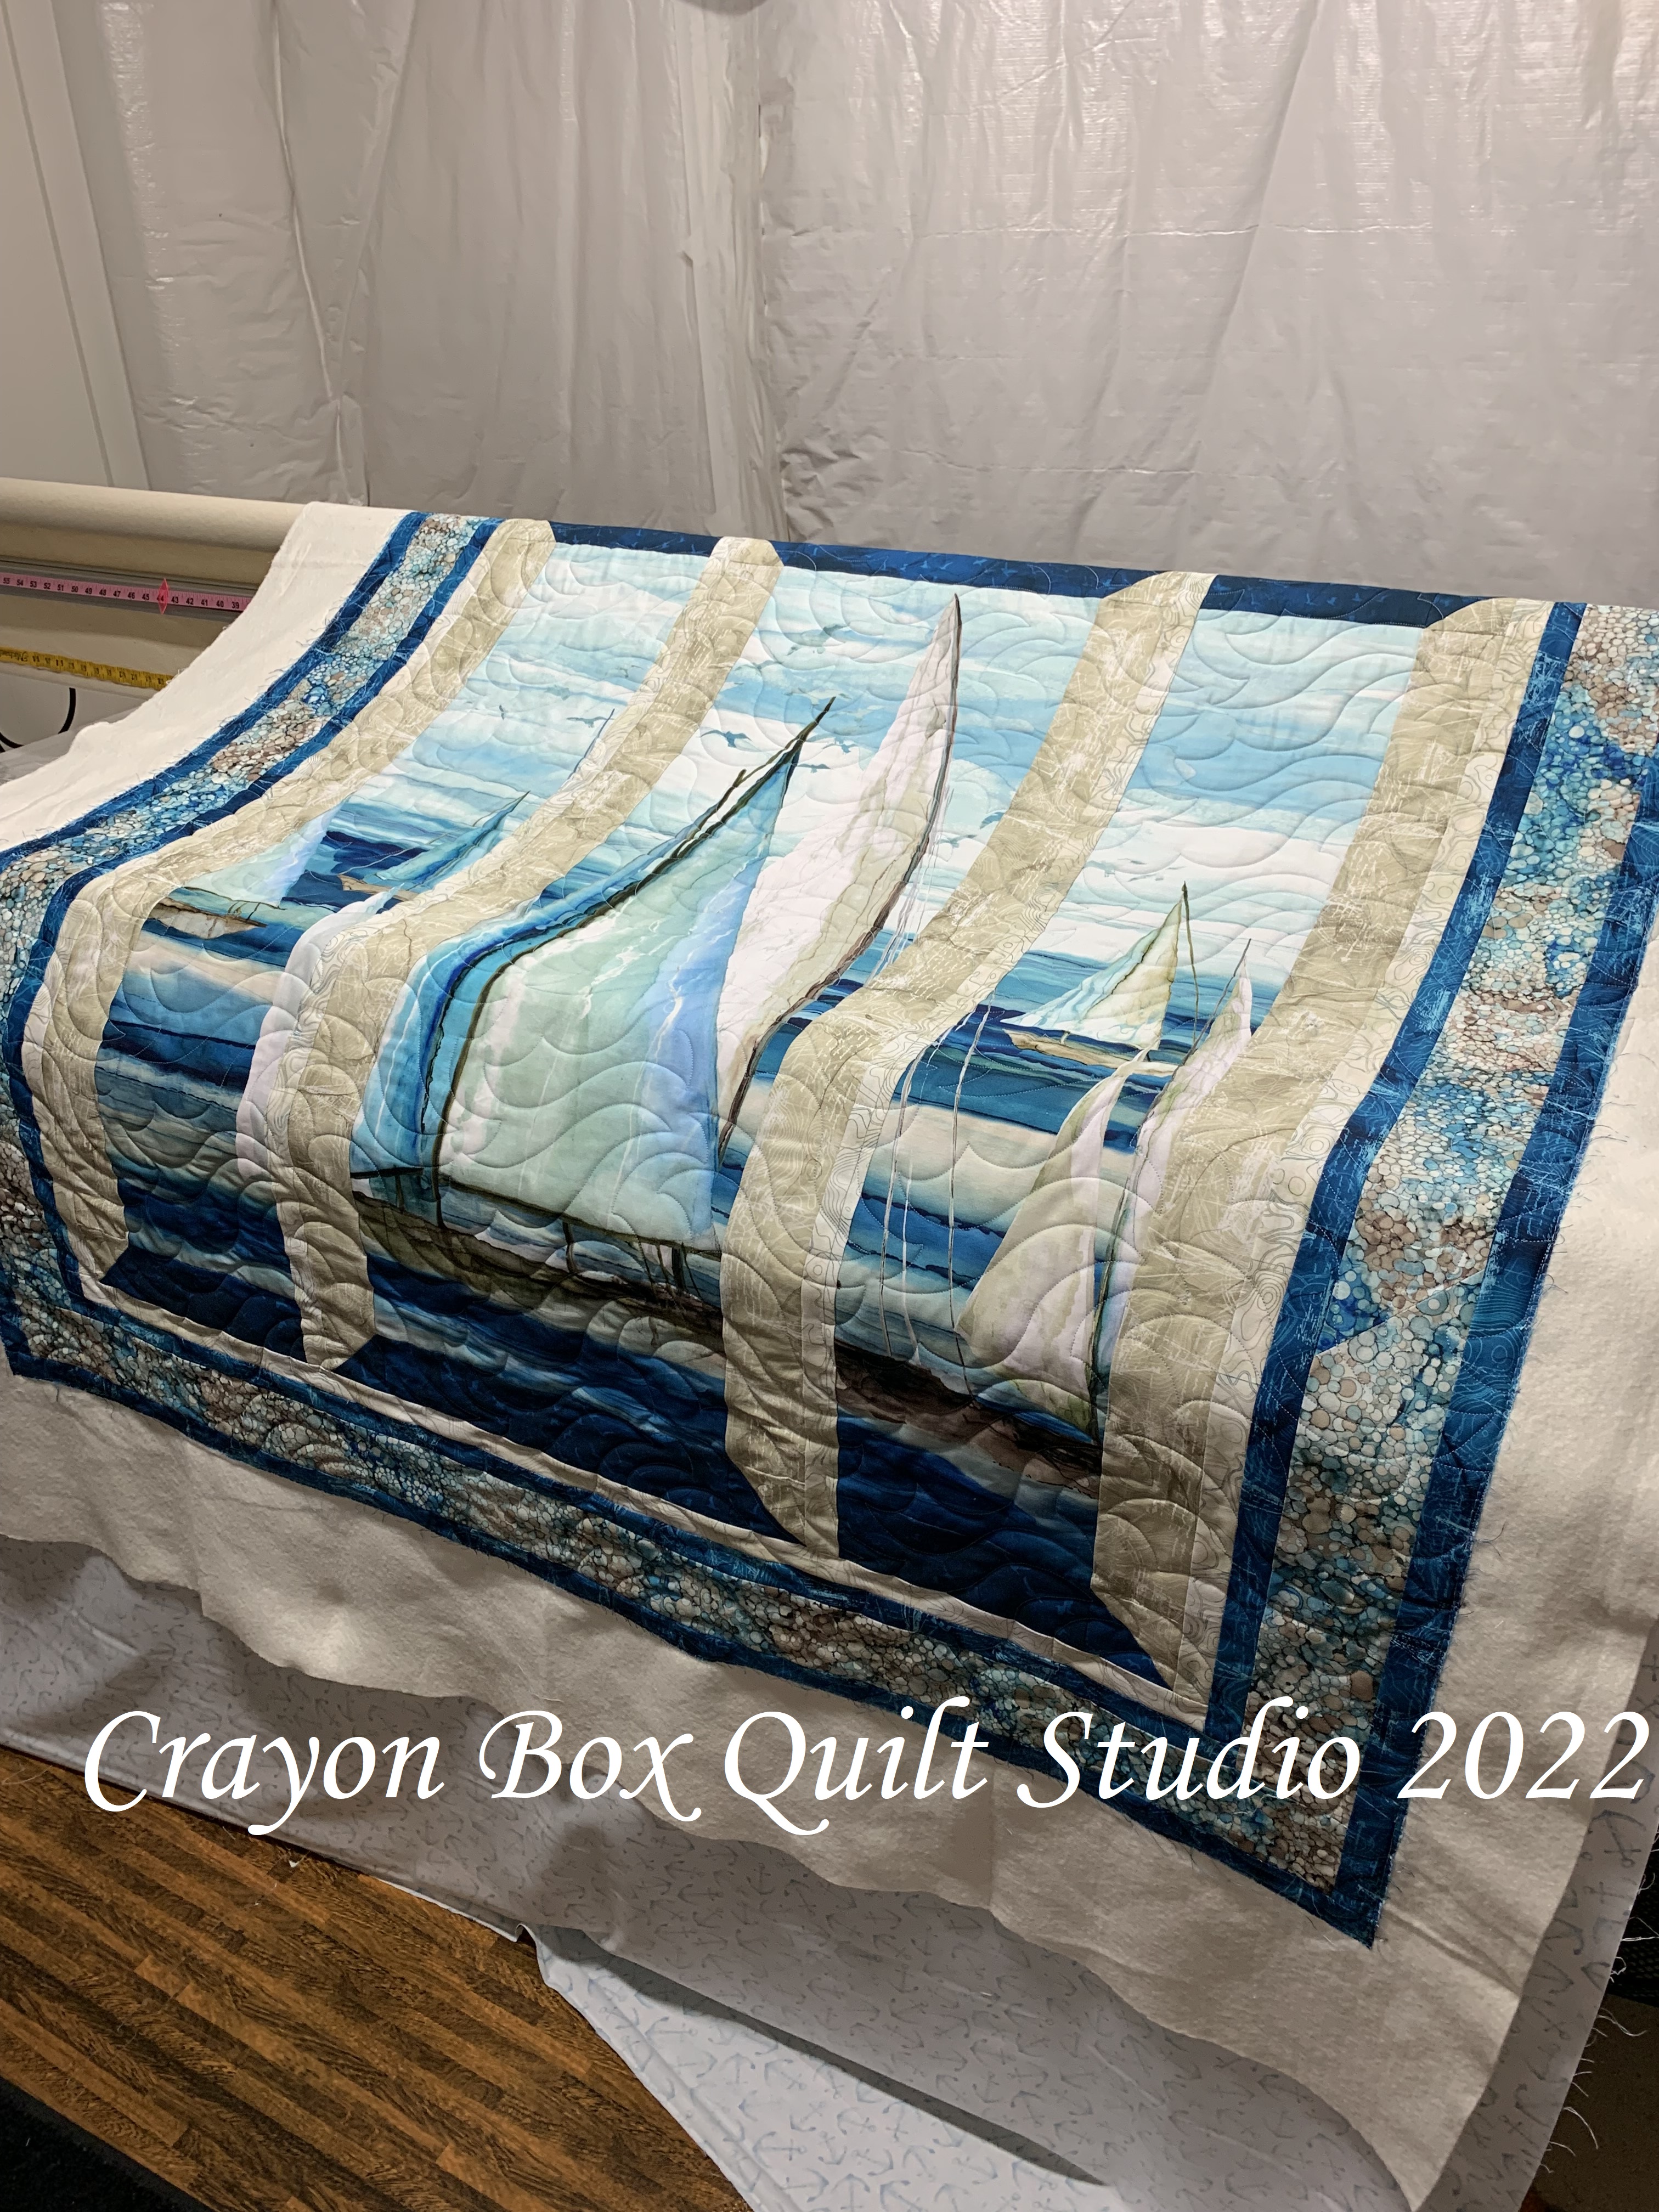
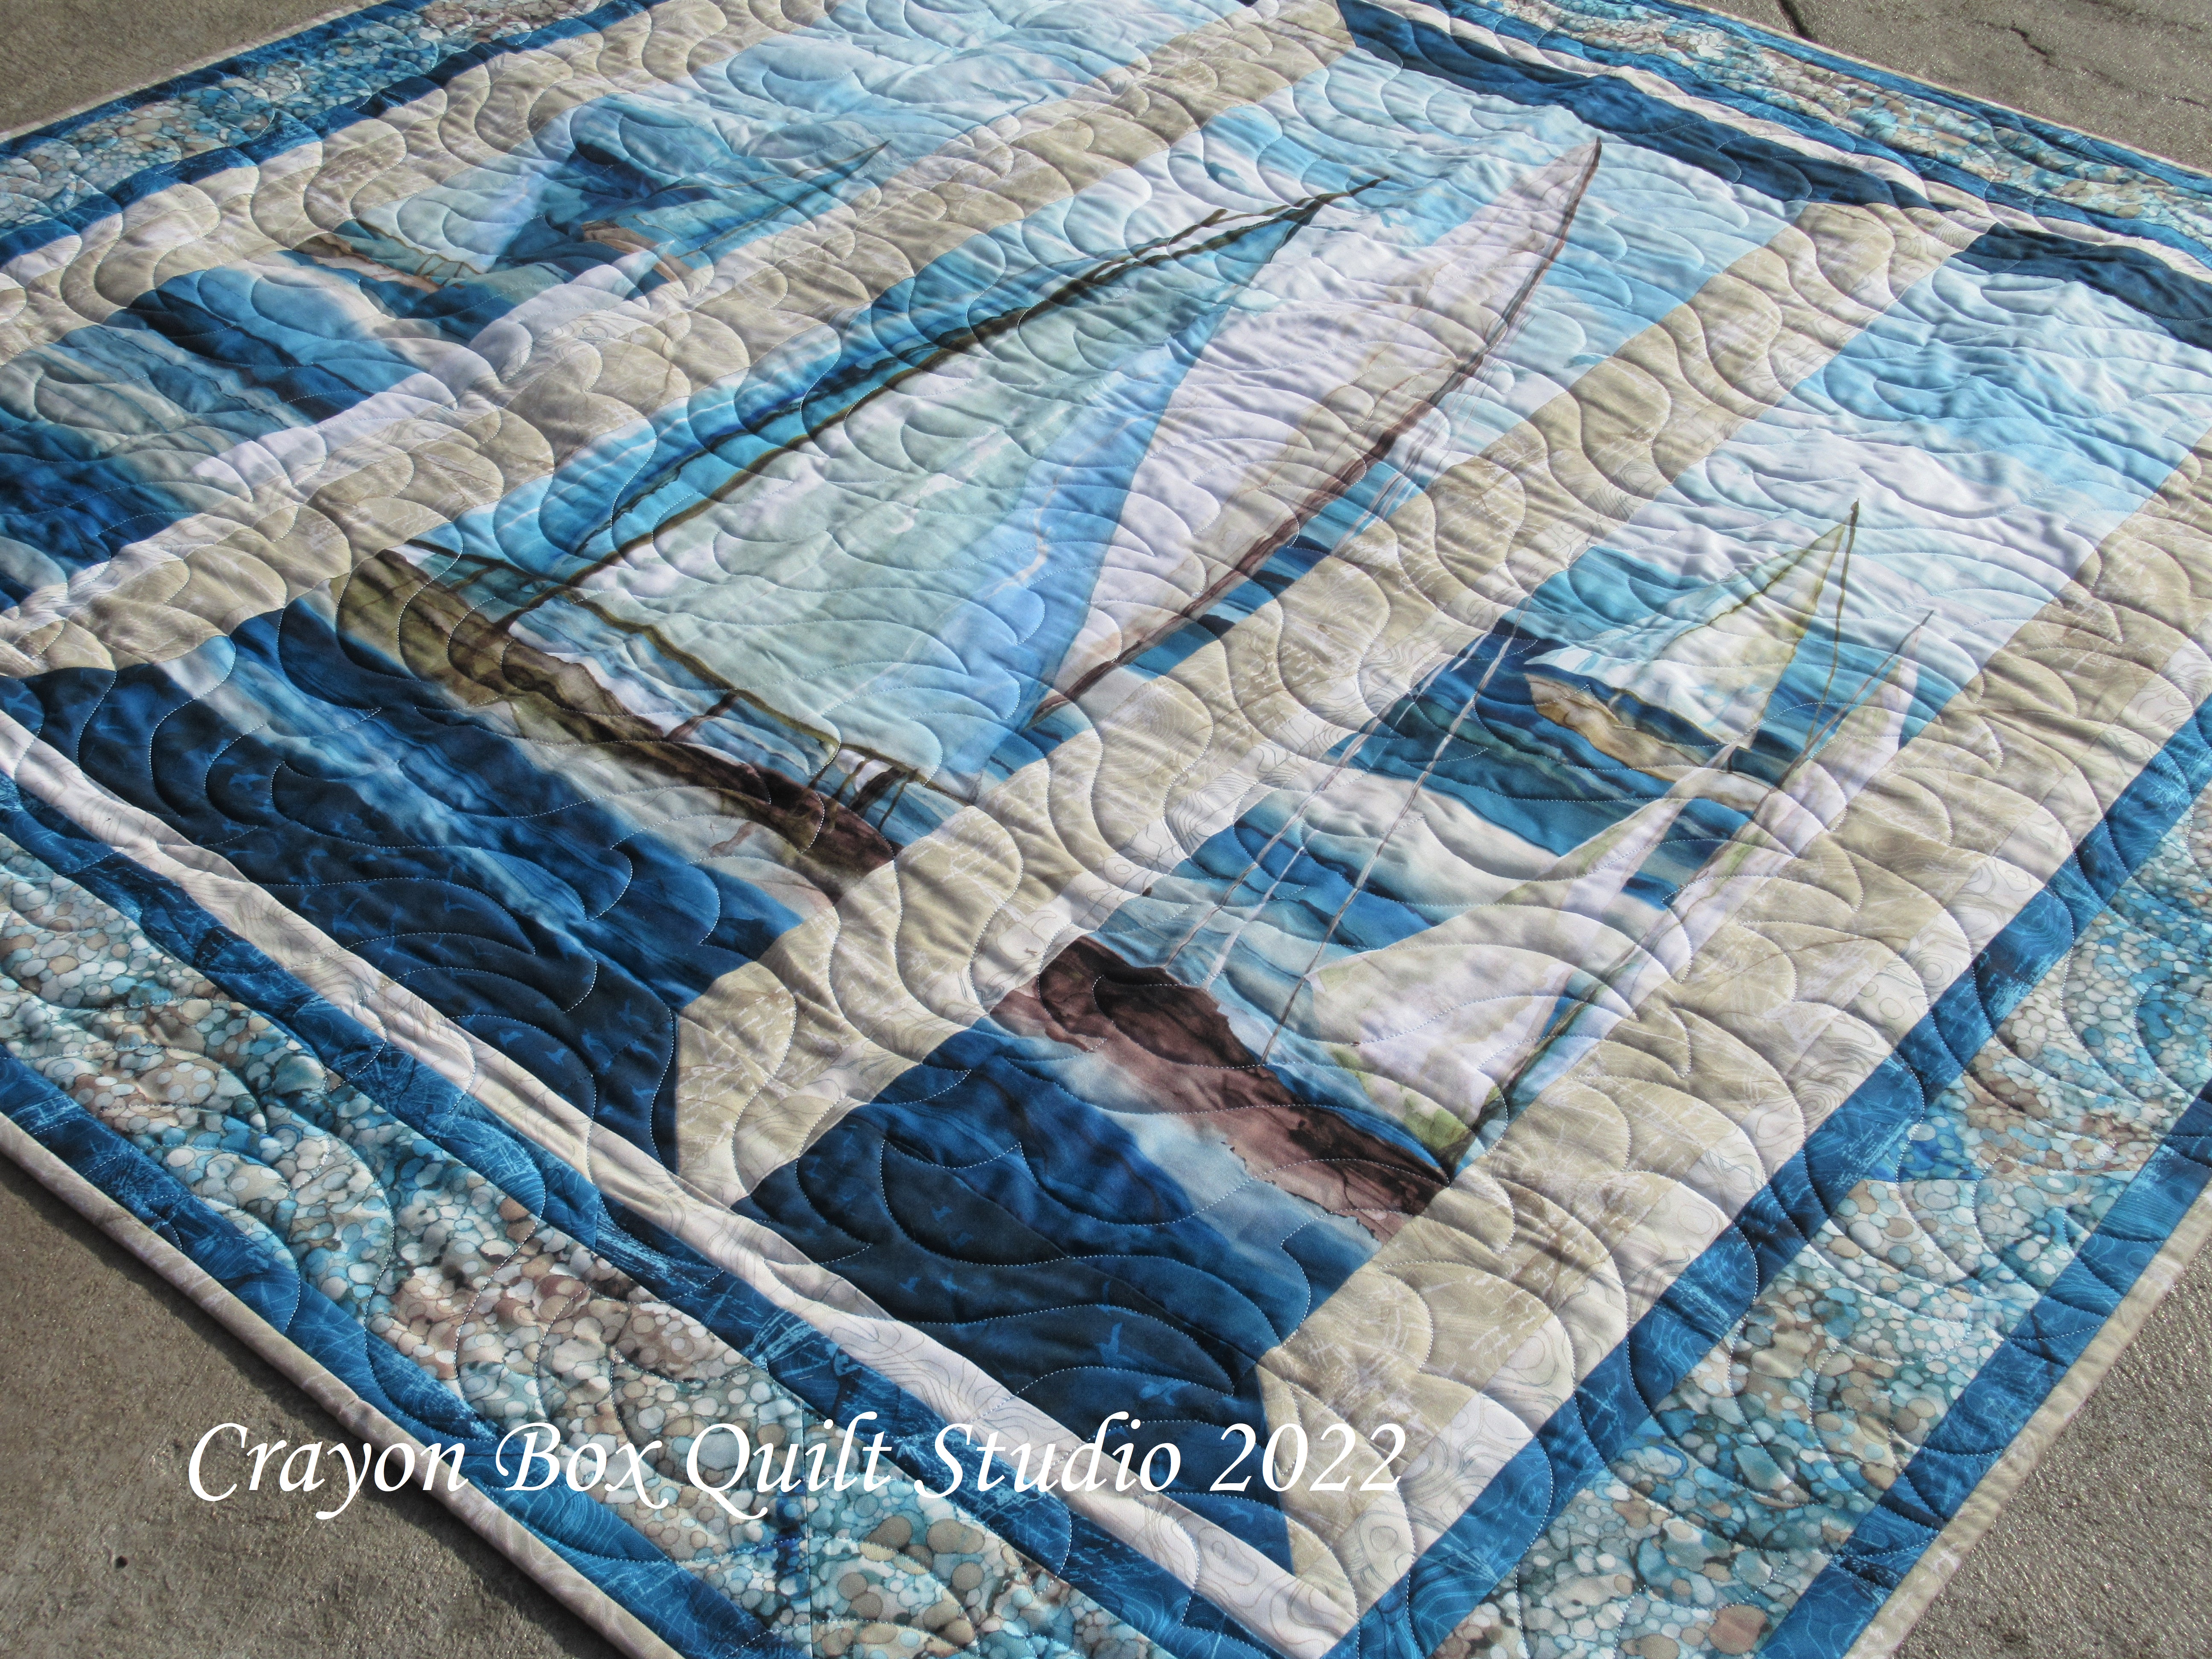
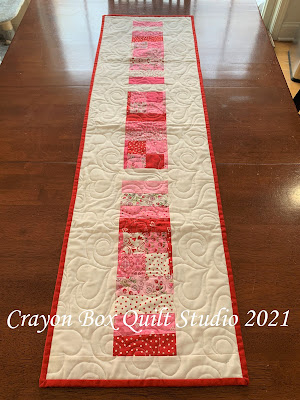
 Here is the finished result. I'm really pleased with the way it turned out.
 I didn't want to over quilt it but I think this is just the right amount. I used Cocoa Essentials thread from Connecting Threads.
 I used one of the prints from the line for the lining and added a small pocket on each side using leftover charms.
 This tote is a great size for being on the go, big enough for books or to use as a purse but not so huge like a beach bag.
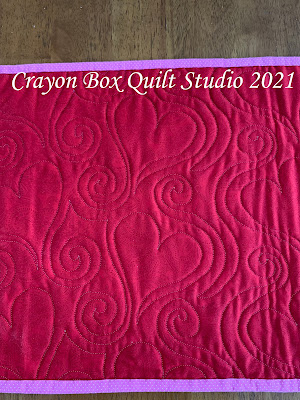
 Jammer picked that one for his teacher and Sunshine chose this other version for her teacher. I used the other colorways of the Boho line, the Pink and the Yellow prints, for this one. Here is the Pink side.
 And here is the Yellow side. I used Bella Paper Bag for the solid strip and handles.
 This time I quilted a line 1st going down the middle of the panels corner to corner. Then I added 2 more lines on either side of the 1st one. Then I moved over 1 inch and quilted 3 more lines diagonal across the panel. I continued on that way until I got to the end and then flipped it around to do from the middle to the other corner. Again this was fast and easy and I like the look. I originally thought that I'd do the same in the other direction but once I finished the 1st direction, I decided that I didn't want to add any more. I used the Taupe Essentials thread from Connecting Threads.
This one also got a couple of pockets, made with leftover charms. They are just big enough for a cell phone and a set of keys.
 The evening before they were being gifted I quickly ran outside to grab these photos.
 The wind was picking up good because of the incoming thunderstorms so getting some good shots was a challenge.
 I love how colorful and cheery they both are and the teachers were pleased as punch to receive them along with the gift cards that I tucked into the pocket.
I will definitely make these totes again though I'll tweak the instructions a bit the next time.
Whew! Teacher gifts done this year speedy quick and I wasn't as stressed out. That is a good thing. I'm linking up today with a few parties!
Fort Worth Fabric Studio Blog